Positioning Models
Once you have imported your 3D shoes, its accompanying occluders, filled in the descriptions and added a thumbnail you can now position and scale your 3D model and its occluders.
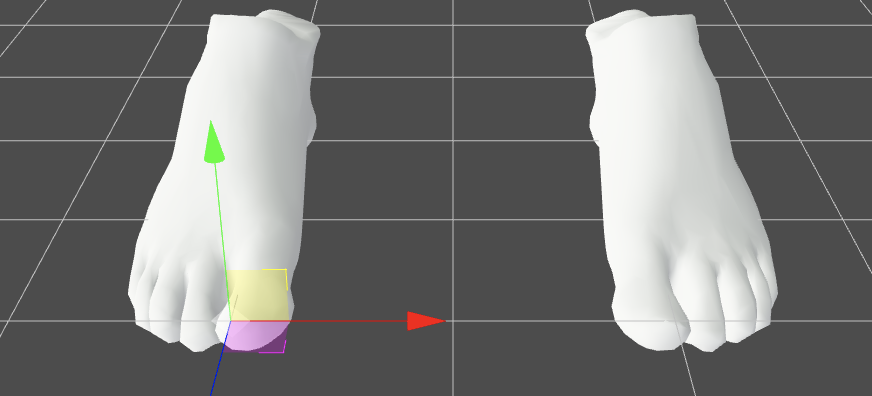
Reference Foot Models
When you open Vyking Studio you will see Vyking’s 3D footmesh in the 3D view (one left and one right) - the shoe models should fit around this footmesh.
Positioning the Shoe Model
First make sure tp select a “model_r”/”model_l” and make sure it's visible - you can hide all the other occluders during this step.
To make the positioning easier, you can alter the “opacity” of the “model_r”/”model_l” in the transform section on the bottom right of the screen.
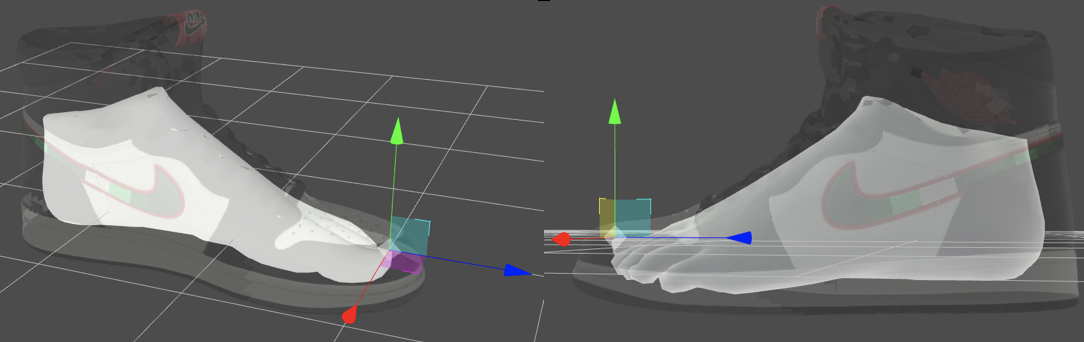
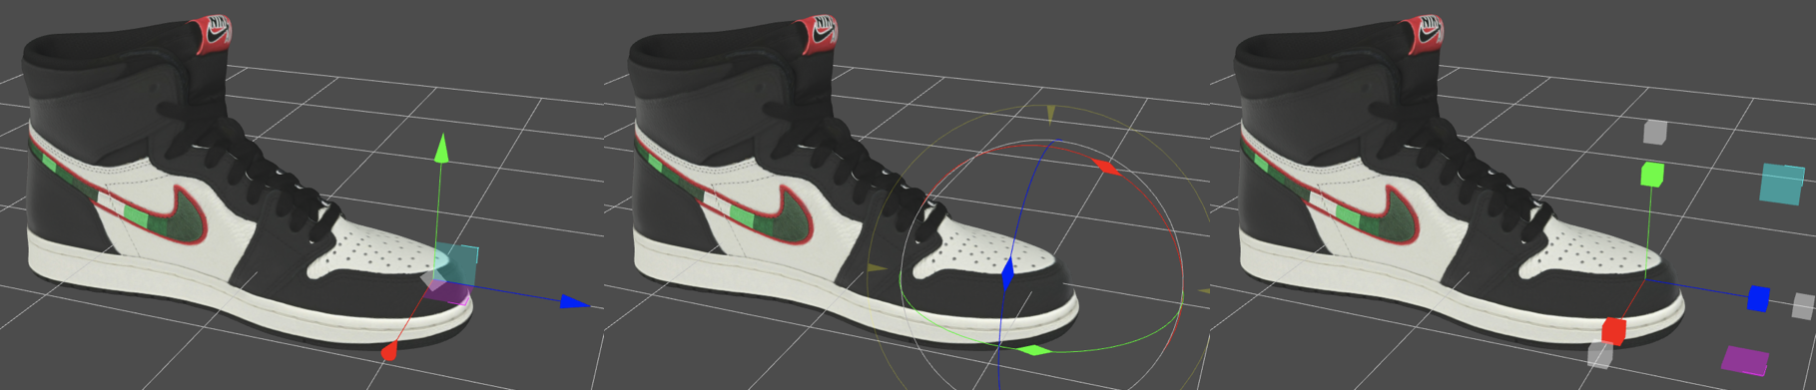
In order to position the shoe model you manually change the transform values in the Transform section or use the positioning feature in the 3D view.
Please note that Vyking created keyboard shortcuts W E R allow you to toggle between each parameter directly from the 3D view.
Positioning the Occluders
Importing custom Occluders is the same as importing a shoe model and can be positioned in the same way.
Please be aware that in this Beta version of Vyking Studio the occluders are always children of the 3D shoe model
Please see the Occluders sub-section for details on placing the occluders.
Positioning if you have both Left and Right shoes
Let's say that you have a pair of shoes that have different writing on left and right shoes; hence it would look weird to import one shoe and mirror flip it on the other foot - instead we import both shoes.
Imaging you have positioned one and want to apply the same transform to the other. To do this press the "Copy to other foot" button.
Note both left and right models imported have to have the same geometry but mirror flipped for this to work